
Printmaking & Printing
Burin Engraving
Style guide
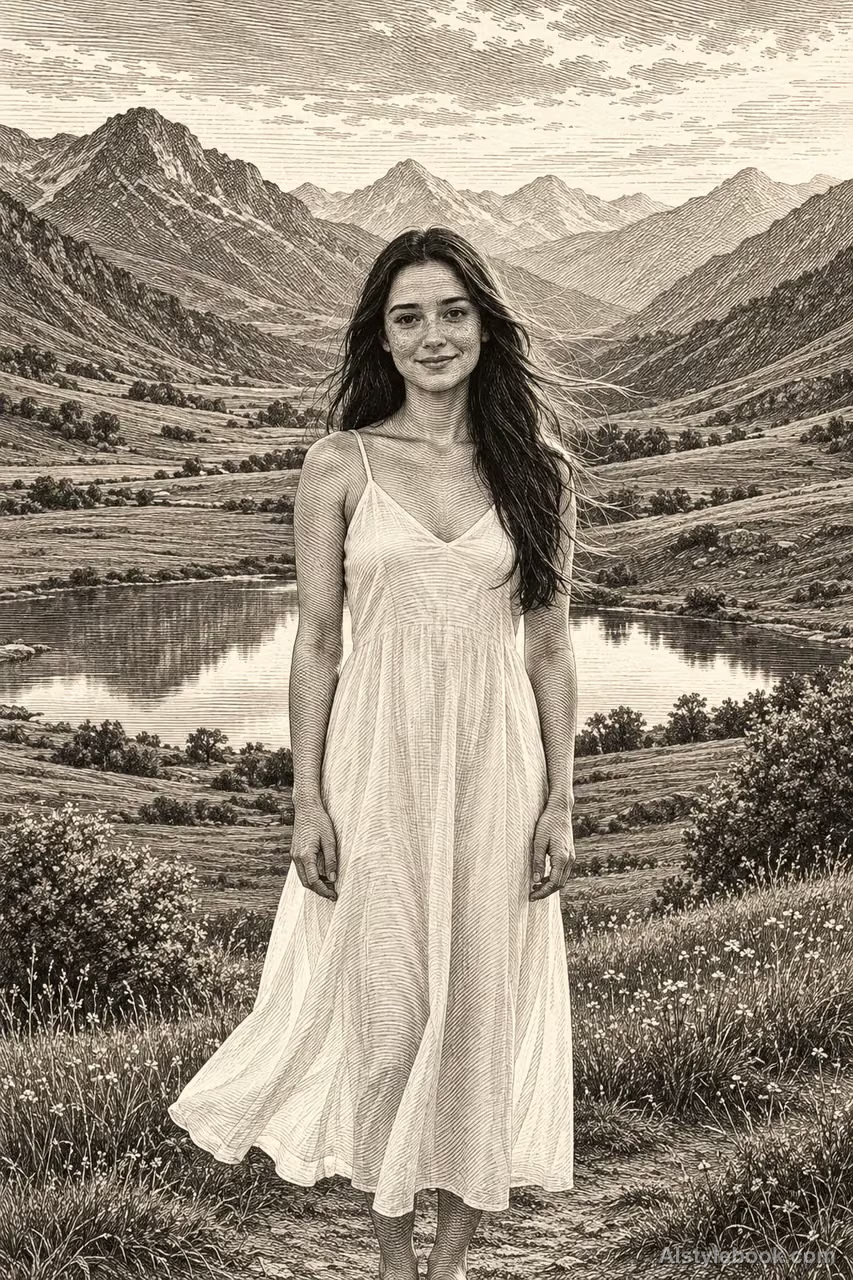
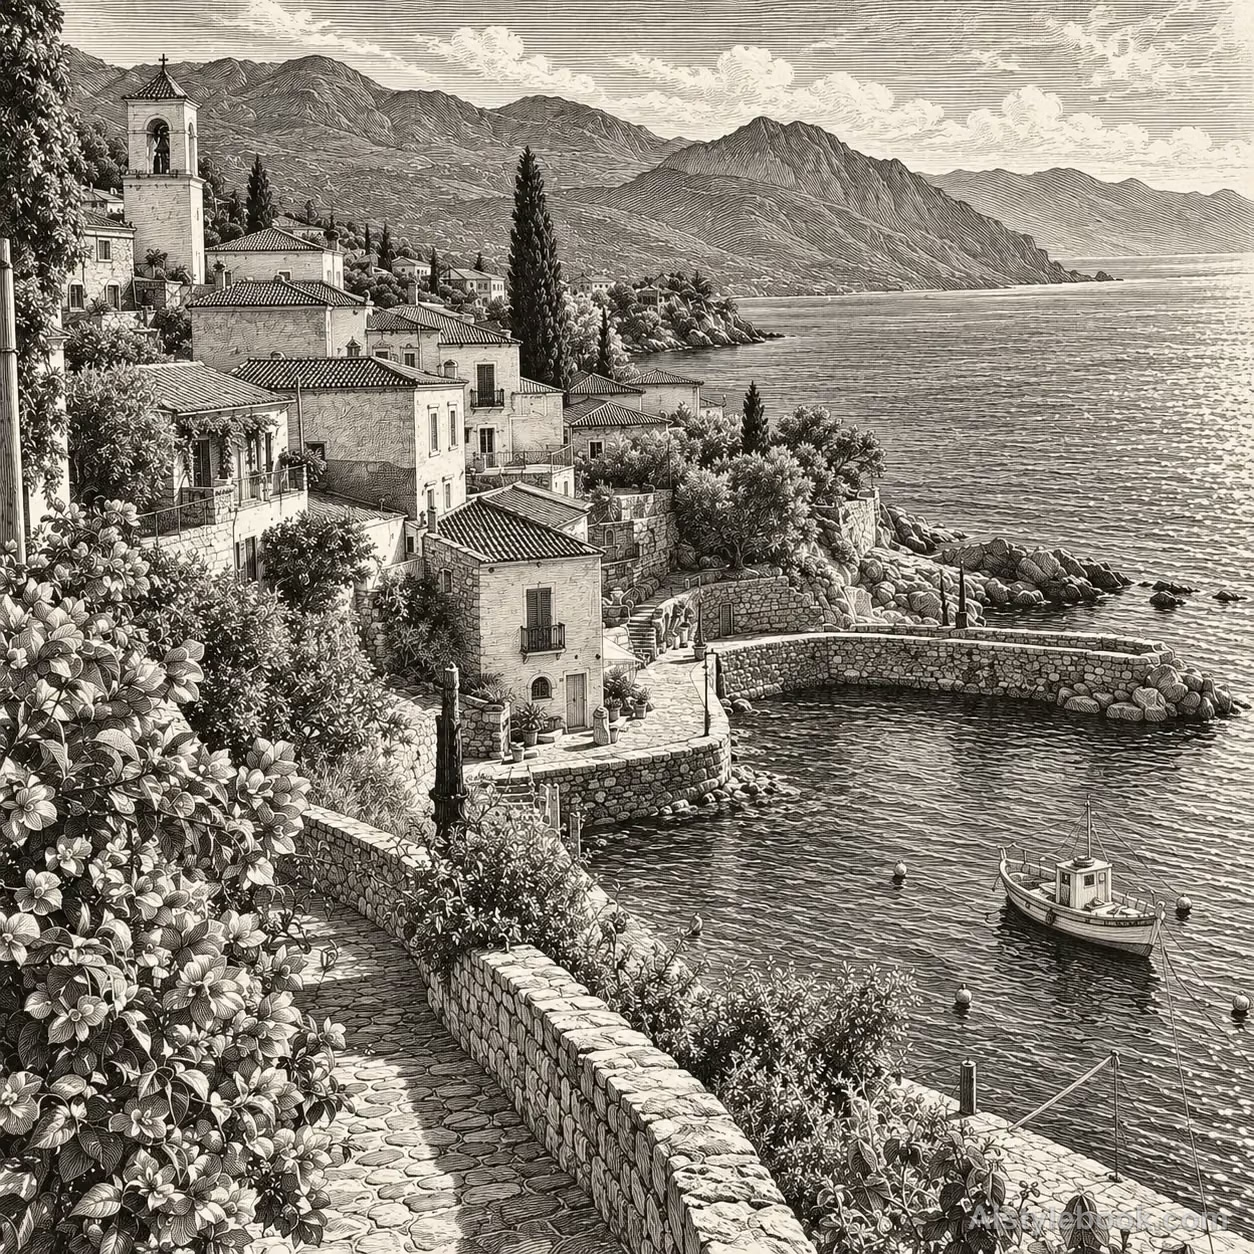
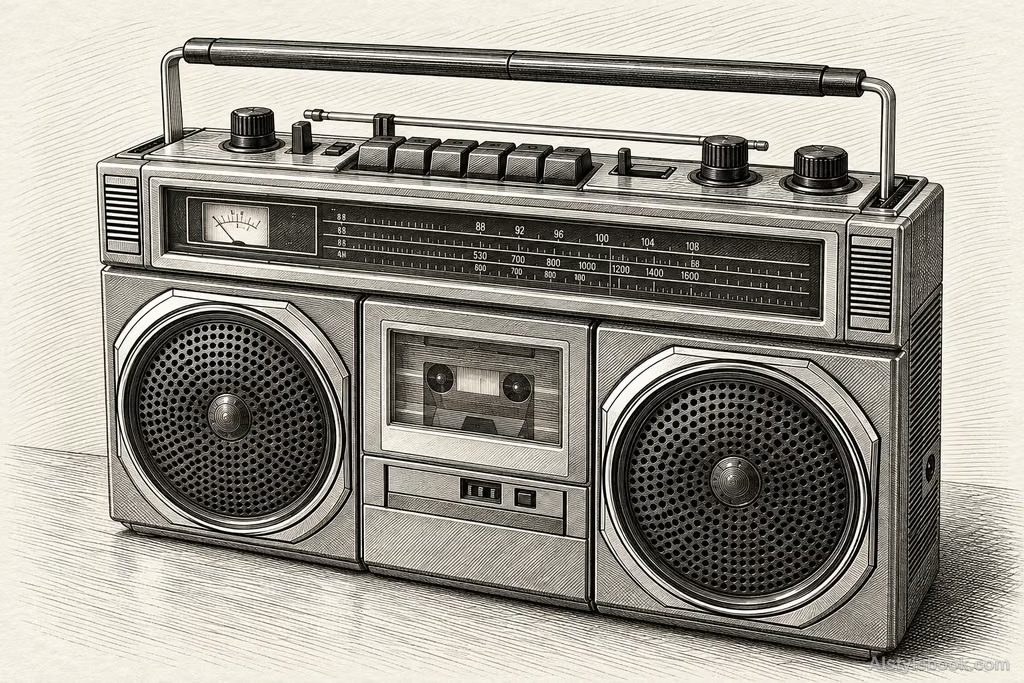
Curved engraved lines swell and taper around the volume, with crosshatching and clean paper white creating delicate tonal layers.
The visual language
What is Burin Engraving?
Curving incisions wrap volume like fine ribbons, swelling and tapering along each stroke. Crosshatching deepens shadow while clean paper preserves crisp highlights.
Engraving holds ink in incised lines whose width and spacing describe form.
Curving bundles around a sleeve and denser intersections in its folds can make a rigid tool suggest soft cloth.
How the style changes different subjects
- Portrait
- Dense lines model features and folds, turning light and shadow into changing line spacing.
- Landscape
- Directional engraved or hatched marks separate architecture, branches and rocks.
- Objects
- Contour-following lines describe curves while bare areas and dense marks separate light and dark.
- Subjects
- Choose side-lit portraits, fur, trees, buildings or metal objects with clear changes of surface direction.
Metalworking and Renaissance prints
European engraving was closely connected to goldsmithing. Renaissance artists including Schongauer, Mantegna and Dürer developed it into a print language capable of finely modeling form and texture.
Bring the style to your photos
Reusable style prompt for Burin Engraving
Translate the image into a meticulous burin copperplate engraving. Wrap every volume in precise incised lines that swell under pressure and taper to sharp ends. Use parallel curved hatching in lighter passages and controlled crosshatching in shadows, preserving tiny clean paper-white highlights. Deep black ink, warm white pressed paper, slight intaglio impressions and disciplined line spacing create restrained, finely articulated engraved depth.Use the same style prompt for portraits, landscapes and objects.
Create with this styleKeep exploring


