
Painting & Drawing
Pen Hatching
Style guide
Sharp pen strokes cross and gather into shadows, with black ink pools, lifted ends and slight paper bleed.
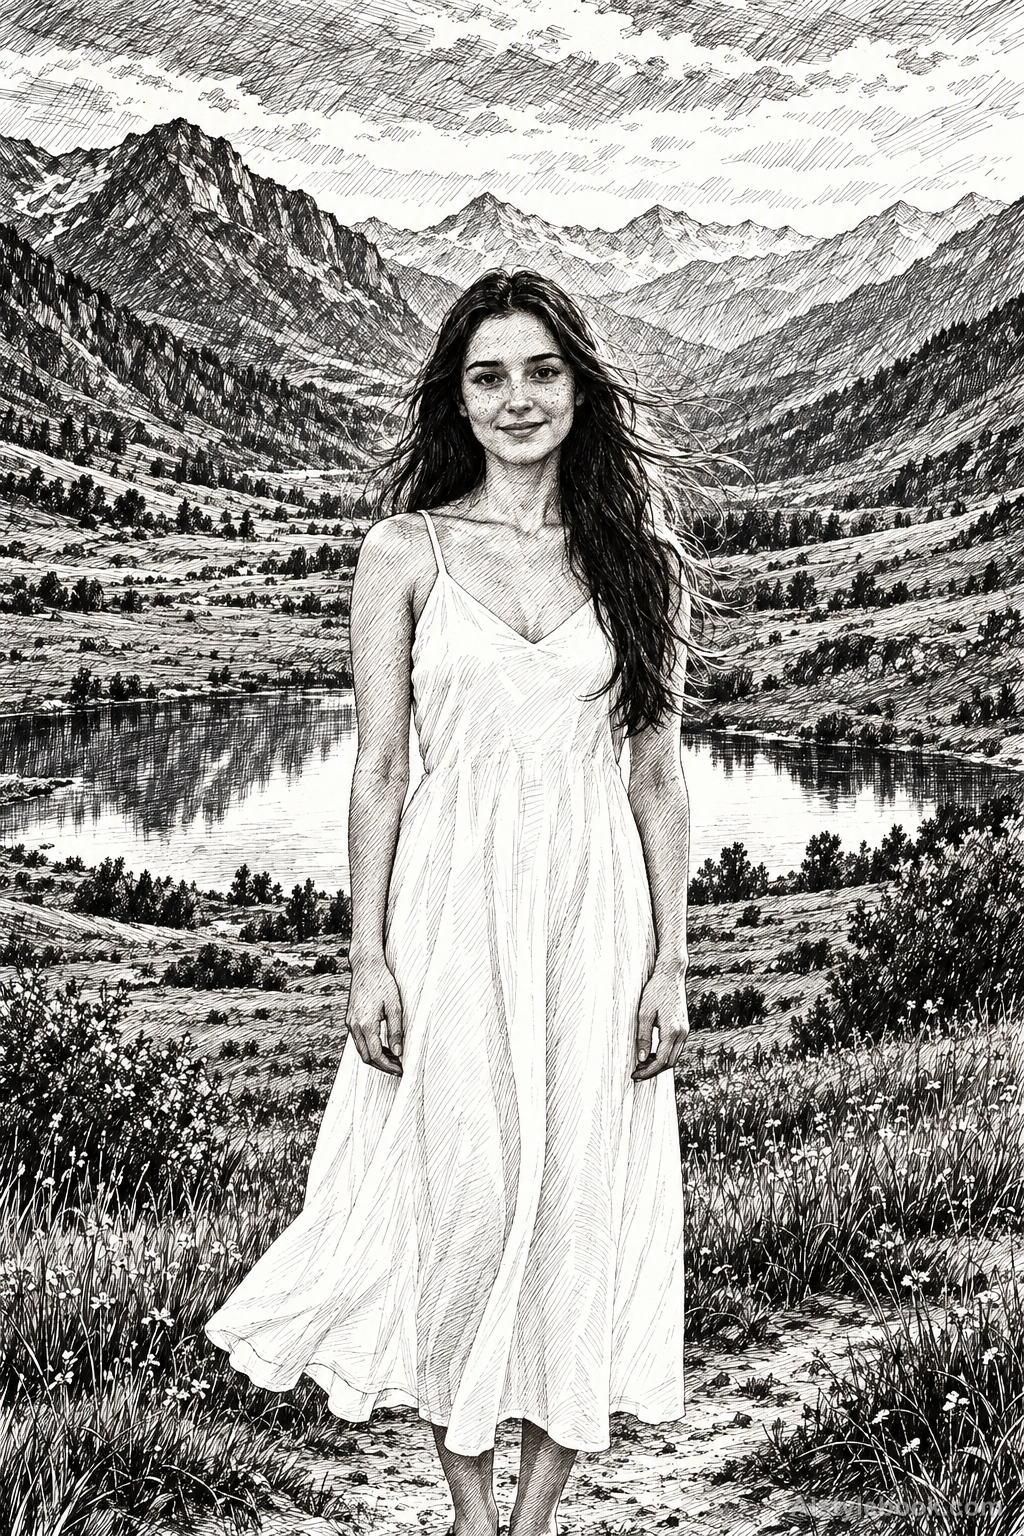
PortraitStyle effect
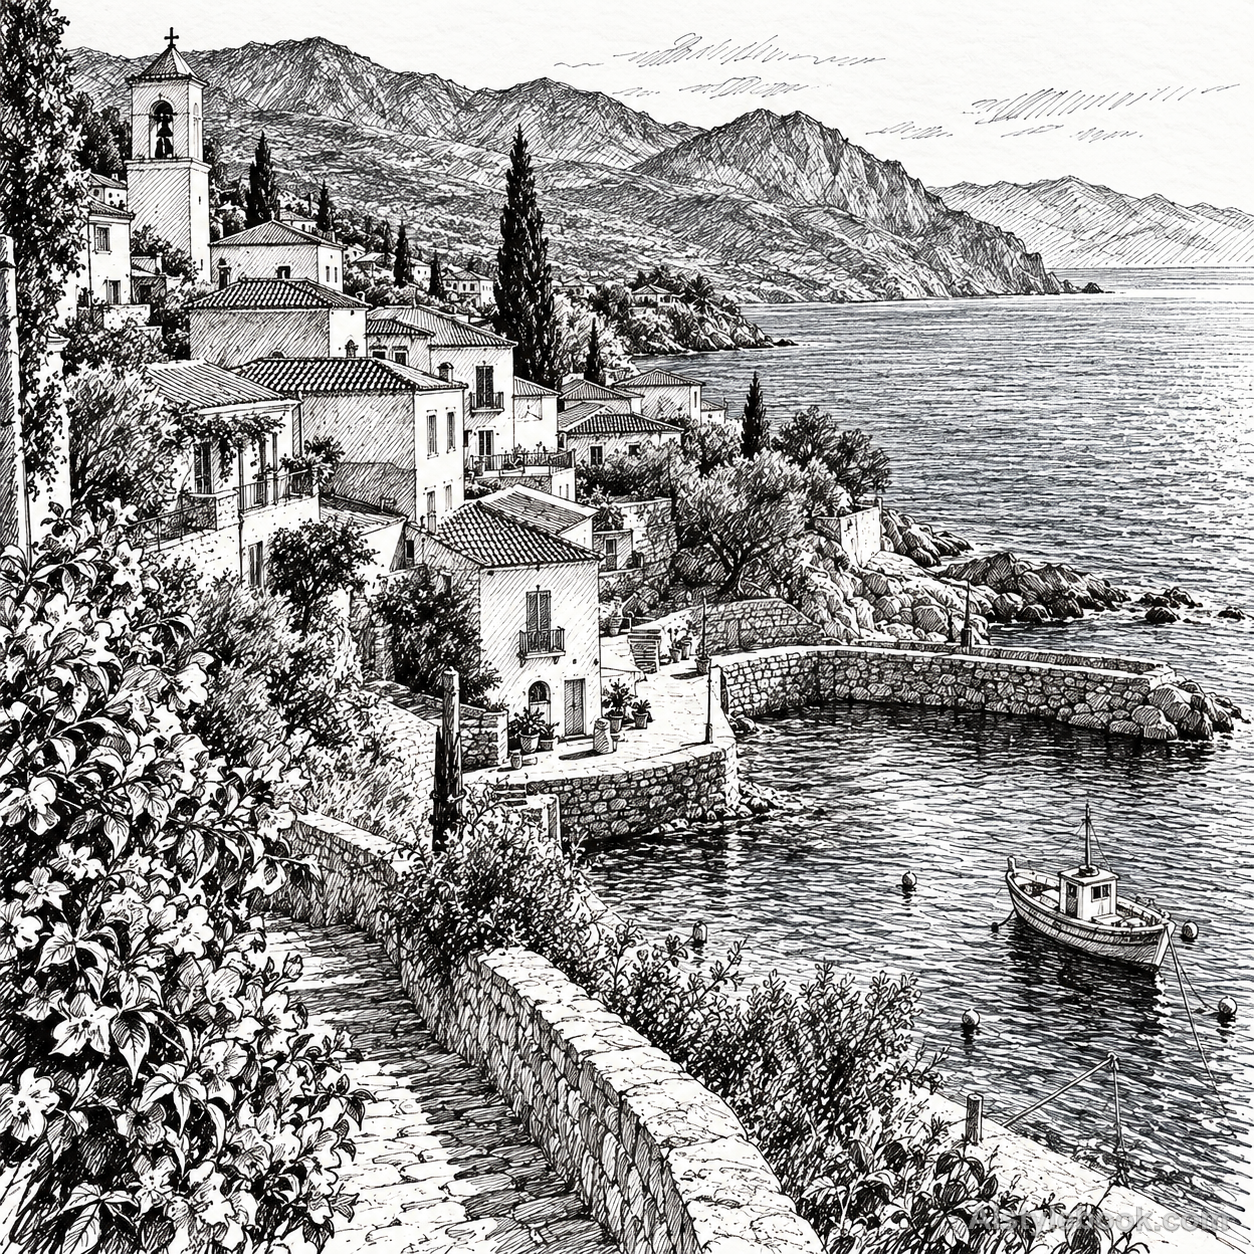
LandscapeStyle effect
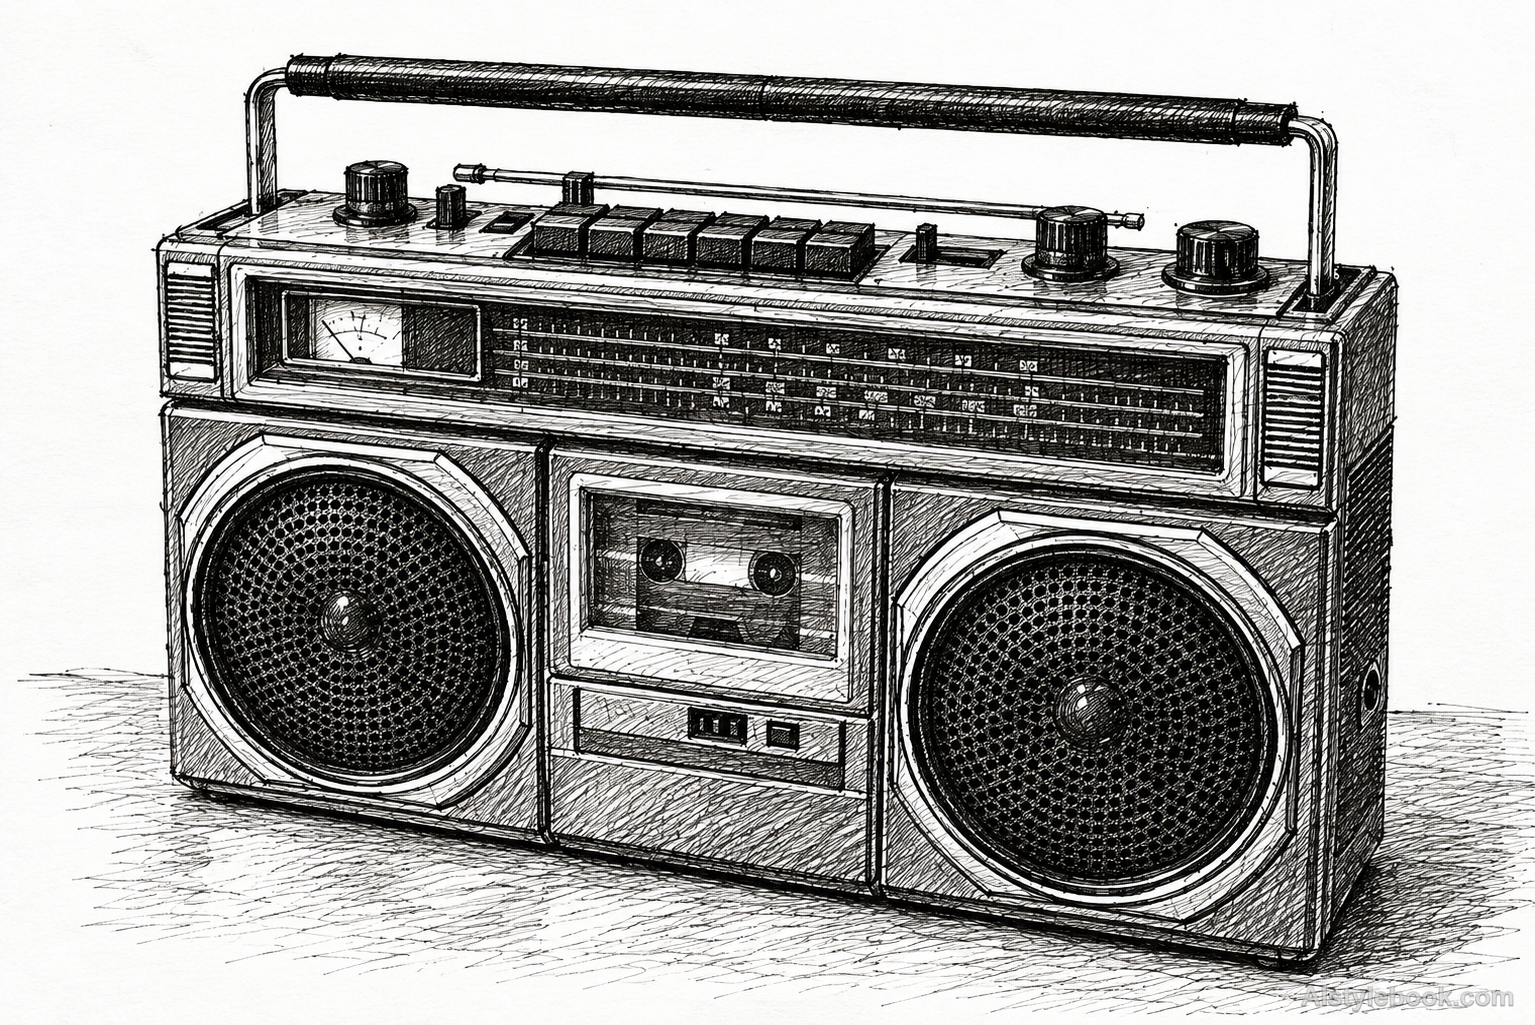
ObjectsStyle effect
The visual language
What is Pen Hatching?
Pen hatching accumulates tone through directional groups of ink strokes. Denser lines deepen the shadows while pressure changes, lifted ends, broken marks and slight ink bleed reveal the drawing hand. Solid black accents and bare paper strengthen the volume established by the hatching.
Hatching uses stroke direction as a cue to volume and material.
Two long sleeve lines growing into denser crossed elbow marks can describe folded cloth without a gray wash.
How the style changes different subjects
- Portrait
- Dense lines model features and folds, turning light and shadow into changing line spacing.
- Landscape
- Directional engraved or hatched marks separate architecture, branches and rocks.
- Objects
- Contour-following lines describe curves while bare areas and dense marks separate light and dark.
- Subjects
- Choose side-lit portraits, fur, trees, buildings or metal objects with clear changes of surface direction.
Bring the style to your photos
Reusable style prompt for Pen Hatching
Preserve the original composition, identifying features and spatial relationships. Draw every form directly in black pen ink on warm pale paper. Build volume with freehand parallel hatching and crossed groups that follow the local contours, varying their spacing, pressure and lifted endings. Reserve clean paper for light, gather deep shadows into a few uneven black ink masses and retain occasional broken strokes, tiny ink pools and slight capillary bleed at heavy marks. Make the hand-drawn stroke rhythm visible. Avoid color washes, soft graphite blending, repeated decorative patterns, etched metal lines, wiped plate tone and embossed printing borders.Use the same style prompt for portraits, landscapes and objects.
Create with this styleKeep exploring


